

Configuring UCX
Step 1 – Create SIP Extension
Login to UCX Administration and navigate to PBX – PBX Configuration – Extensions page to add a new SIP extension for the Snom PA1.
Create the new SIP extension with the following parameters:
- User Extension – Enter the extension number to dial
- Display Name – Provide a name for the extension
- Secret – Enter the secret (password) for the extension


Configuring Snom PA1+
Step 2 – First Time Login
Open a web browser on a PC connected to the same network as the PA1+.
Type the IP address into the address bar after http:// and press Enter to open the PA1+’s web interface.
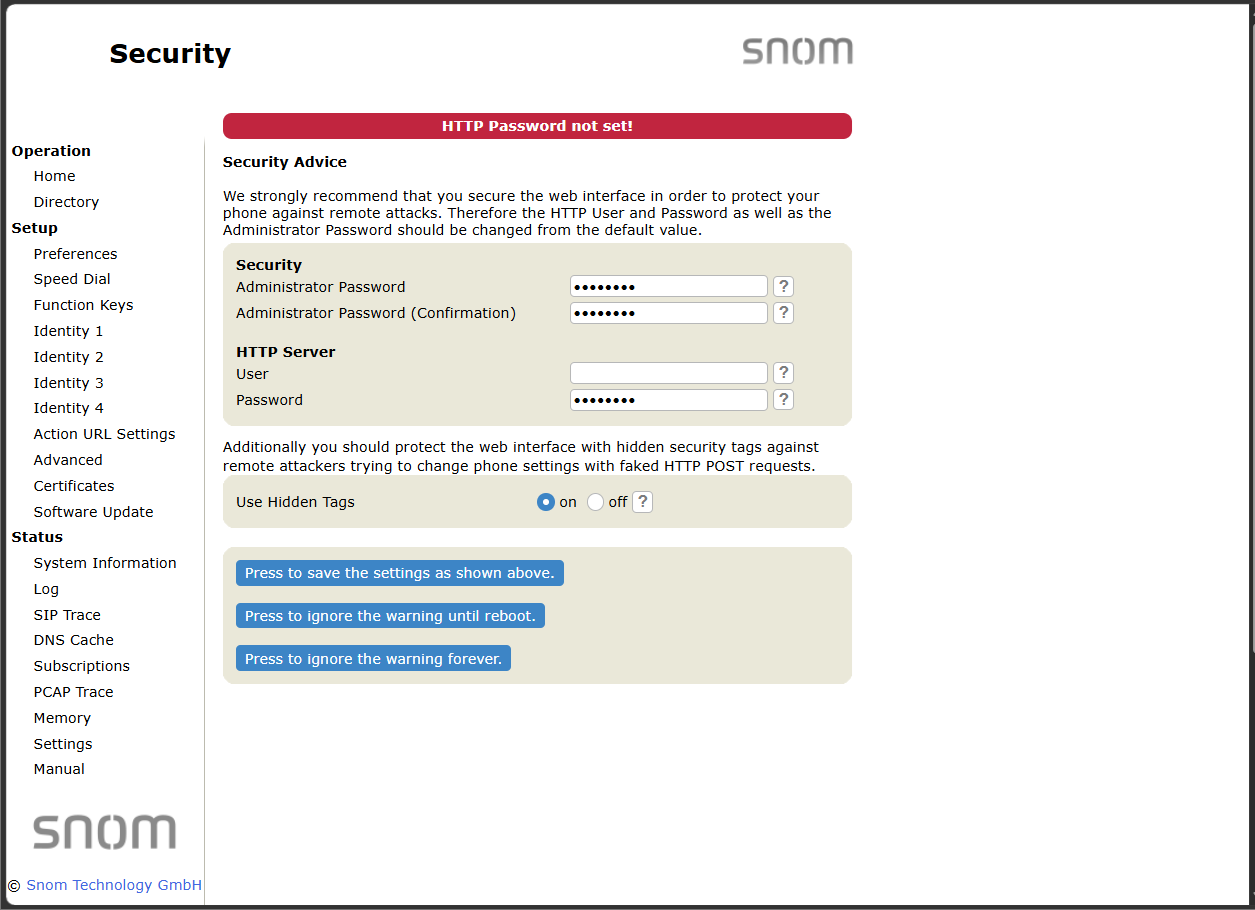
You will be presented with the Security page.
It is important to set the administrator password here and make sure you write it down and store in a secure place.
When you register the first account, the SIP user name and password will be registered as the HTTP user name and password. If you wish to change them later, you can do so on the PA1+’s web interface > Advanced > QoS Security > HTTP Server.
Step 3 – Setup Identity
- Navigate to the Setup – Identity1 page.

- Under the Login tab, populate the following fields on this page:
- Displayname = Enter any text name
- Account = Enter the SIP extension number provisioned on the UCX Server in STEP ONE
- Password = Enter the secret of the SIP extension
- Registrar = Enter the IP address of the UCX Server
- Authentication User Name = Enter the same SIP extension number as the Account field
- Press the Apply button at the bottom of the page
- Then click the Save link that appears at the top of the page

Step 4 – Configure SIP Settings
- Click on the SIP tab at the top of the Identity 1 page.
Change the value in the Proposed Expiry field to 60.
- Press the Apply button and then click the Save link that appears at the top of the page
Step 5 – Setup Preferences
- Navigate to the Setup – Preferences page.
Change the Tone Scheme field to the corresponding country tone scheme that you require.
- Press the Apply button and then click the Save link that appears at the top.
