

SIP - No Touch Cloud Provisioning
Table of Contents
1. Introduction
E-MetroTel's No-Touch Cloud SIP phone provisioning allows administrators to pre-configure SIP phones without the need to manually access each phone to configure. Plug-in the phones into the LAN with internet access and the phones will retrieve their respective configuration files from the E-MetroTel Cloud repository servers. Easy!
Access to the SIP Provisioning Tool is provided to our valued partners who have access to E-MetroTel's Partner Portal.
2. Prerequisites
- Access to E-MetroTel's Partner Portal.
- The phone is connected to a network with internet access.
3. Accessing the Provisioning Tool
Login to the Partner Portal with your partner account. (https://www.emetrotel.com/online-partner-portal/)
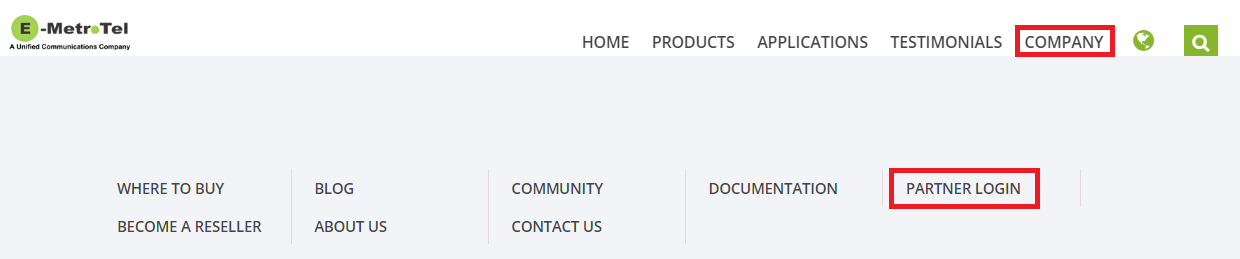
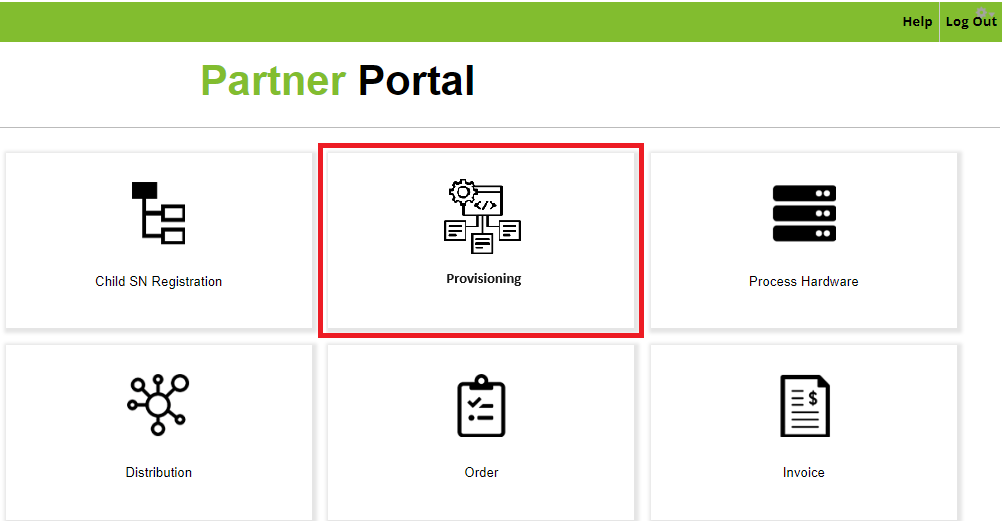
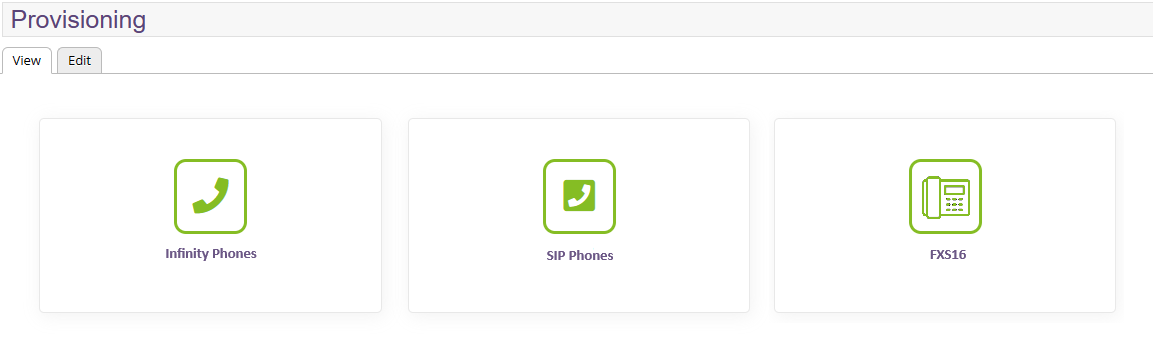
From the Partner Portal, navigate to Provisioning - SIP Phones.
4. Step One - TEMPLATES page
The default template will configure only basic parameters like: Server address, Server port, Extension, Display Name, Secret.
If you want to customize the template, download the desired template file, make changes, then upload with a new template name. Be cautious when modifying entries that contain variables, e.g. %%extension%%.
The template name cannot contain spaces nor special characters, only underscore is allowed.

5. Step Two - MAC page
MAC entries can be added one at a time or imported in bulk via CSV file. If no template is selected, the default template for the phone model will be used.
Here’s a sample CSV file for importing MAC entries:
"MAC","Vendor","Model","Template"
"xxxxxxxxxxxx","Fanvil","X_and_XU",""
"xxxxxxxxxxxx","Grandstream" "GXP_IP_Phones",""
"xxxxxxxxxxxx","Snom","D785",""
"xxxxxxxxxxxx","Polycom","VVX_Series",""
"xxxxxxxxxxxx","Yealink","T4x_Series",""
"xxxxxxxxxxxx","Fanvil","X_and_XU",""
"xxxxxxxxxxxx","Grandstream" "GXP_IP_Phones",""
"xxxxxxxxxxxx","Snom","D785",""
"xxxxxxxxxxxx","Polycom","VVX_Series",""
"xxxxxxxxxxxx","Yealink","T4x_Series",""
From the table, use the drop-down list to select the desired template to use for each MAC entry.


6. Step Three - EXTENSIONS page
Program all your extensions in the UCX first. Then go to PBX → Batch Configuration → Batch of Extensions to export the extensions into a CSV file.
Edit the file and keep only the columns for Display Name, User Extension, Secret and Tech.
- Only entries with Tech=sip are imported, the rest are ignored.
- Existing entries will be overwritten.
- Only the 3 required fields are imported: Display Name, User Extension, Secret.
Note: If you change the "secret" in the SIP provisioning tool, make sure the same change is made in the UCX.
Import your SIP extensions using the CSV file.

In the table, use the drop-down list to select the MAC address to be asigned to each extension.

7. Step Four - Generate Configuration file
The phone configuration file can be generated only when an extension is assigned to a MAC.
Select the extension in the table first, then click on PUSH CONFIGURATION TO PUBLIC SERVER button to generate the configuration file(s) for the selected extensions.
The generated file(s) will be automatically uploaded to E-MetroTel’s public repository at "https://repo.uc-x.org/infinity.cfg/".
8. Step Five - Retrieve Configuration File
On the SIP phone, you have to direct the phone to retrieve its configuration file from E-MetroTel's public repository: https://repo.uc-x.org/infinity.cfg/
8.1 Yealink phones
Use the Redirection and Provisioning Service provided by Yealink to redirect phones to E-MetroTel's public repository.
https://www.yealink.com/en/onepage/yealink-free-remote-provisioning-service
8.2 Snom phones
Use the Secure Redirection and Provisioning Service provided by Snom to redirect phones to E-MetroTel's public repository.