The Billing page is used to setup and view cost based reports of calls made from the UCx system.
To setup and run billing reports, perform the following steps:
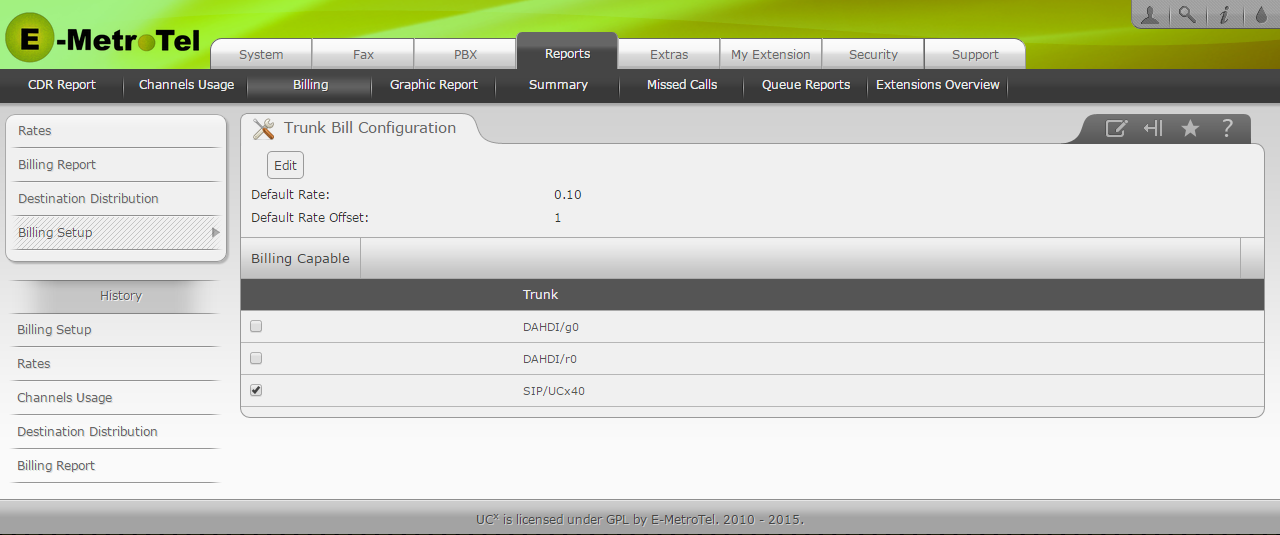
The Trunk Bill Configuration page allows you to set the default billing rate and assign trunk types for billing.
From the Reports -> Billing tab, select Billing Setup from the left-side column.
To change the default rates, select the Edit button:
After editing press the Save button to save changes, or press the Cancel button to retain the previous values.
Use the checkbox on the left to select the trunk(s) used for billing from the list of all of the registered trunks.
Select the Billing Capable button to save the selected trunk types for billing.
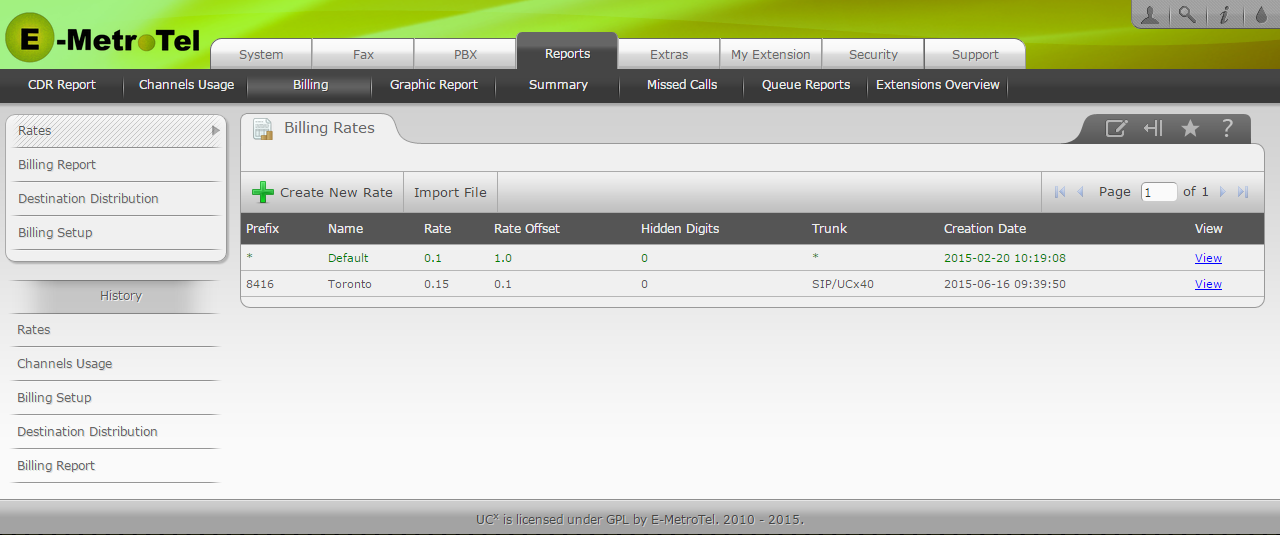
The Billing Rates page allows you to create or edit billing rates without affecting old billing reports.
From the Reports -> Billing tab, select Rates from the left-side column.
A Default rate is always available as a "catchall" for any calls not handled by other rates.
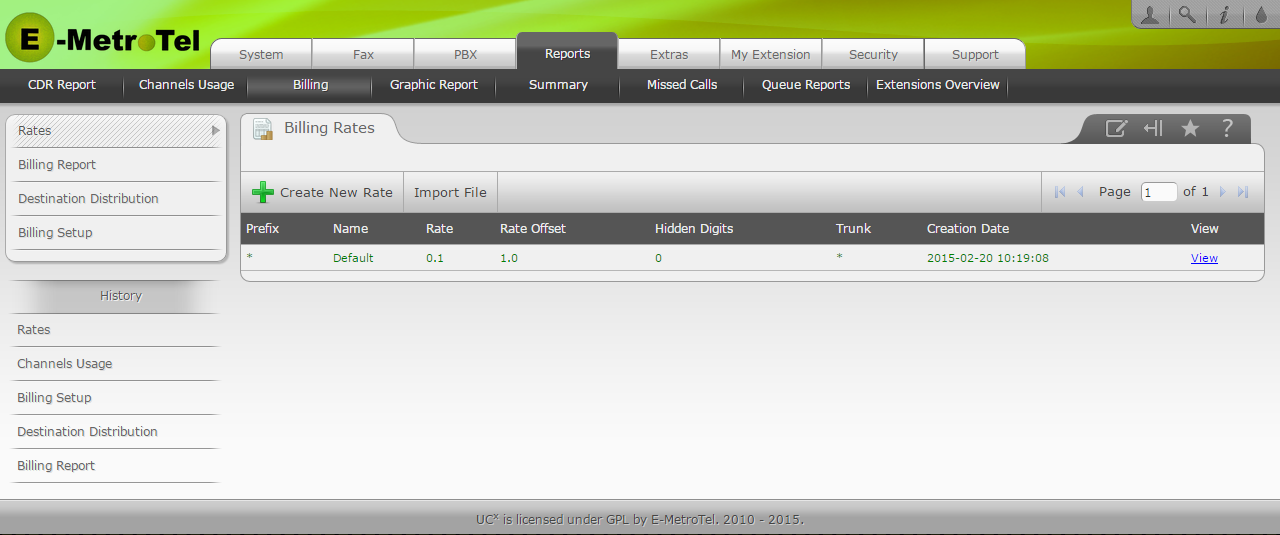
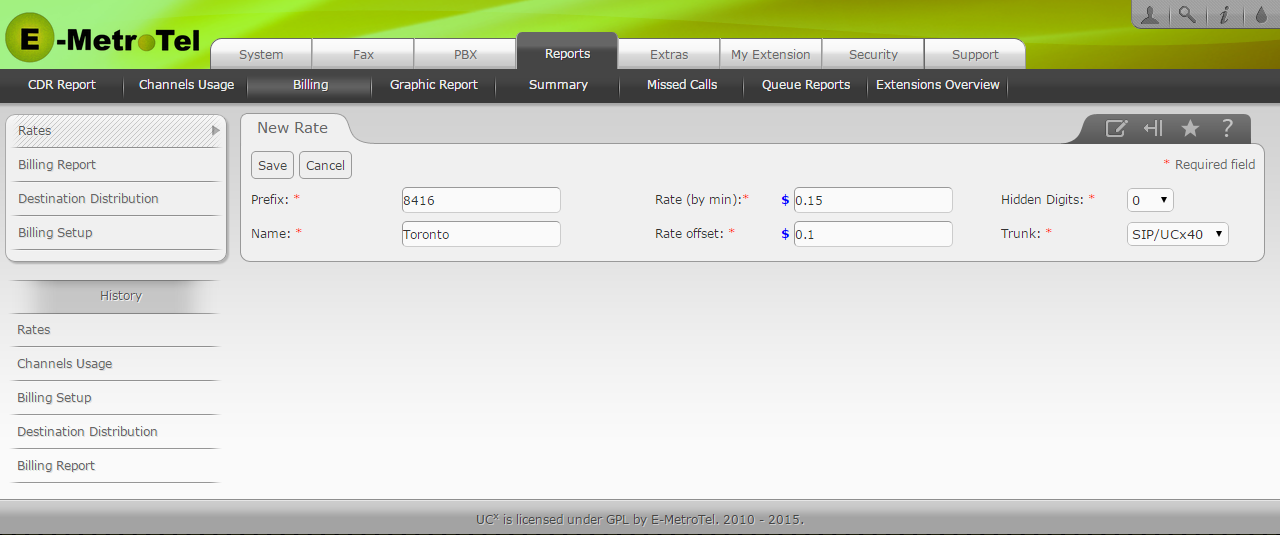
To create a new rate, select the Create New Rate button.
Complete all fields for the new rate, and select the Save button to save changes, or select the Cancel button.
|
Field |
Description |
|---|---|
|
Prefix |
Leading digits needed to place call |
|
Name |
Name of the rate |
|
Rate |
Billing rate of the call per minute |
|
Rate Offset |
Call connection charge |
|
Hidden Digits |
Specify the number of digits to remove from start of a call |
|
Trunk |
Select trunk the rate will apply to |
To edit an existing rate, select the View link for the rate
On the View Rate page, select the Edit button to edit the rate
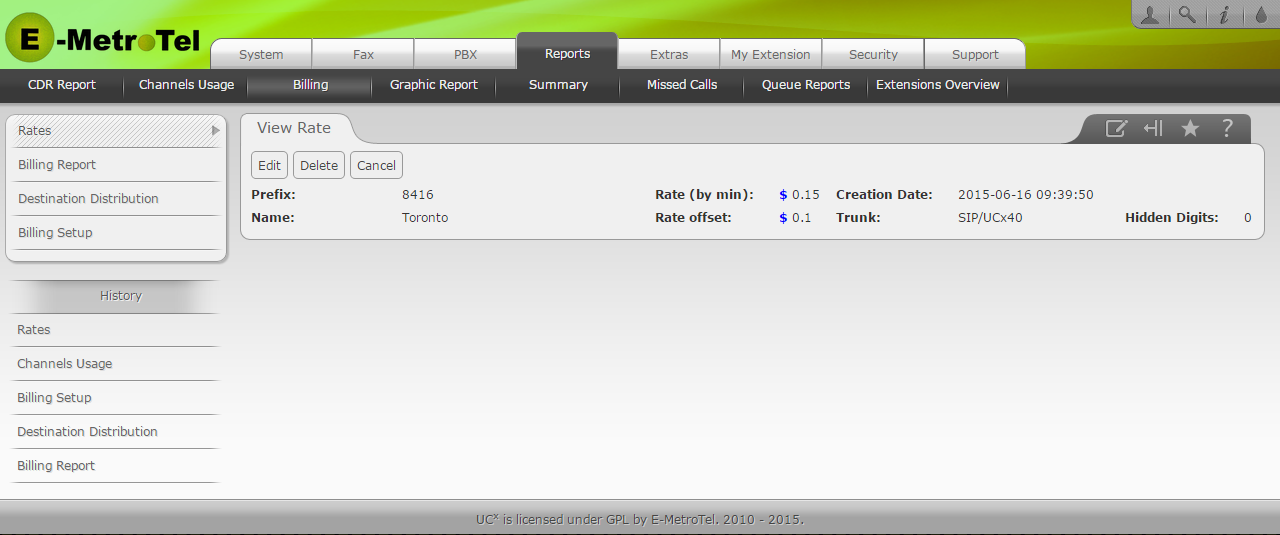
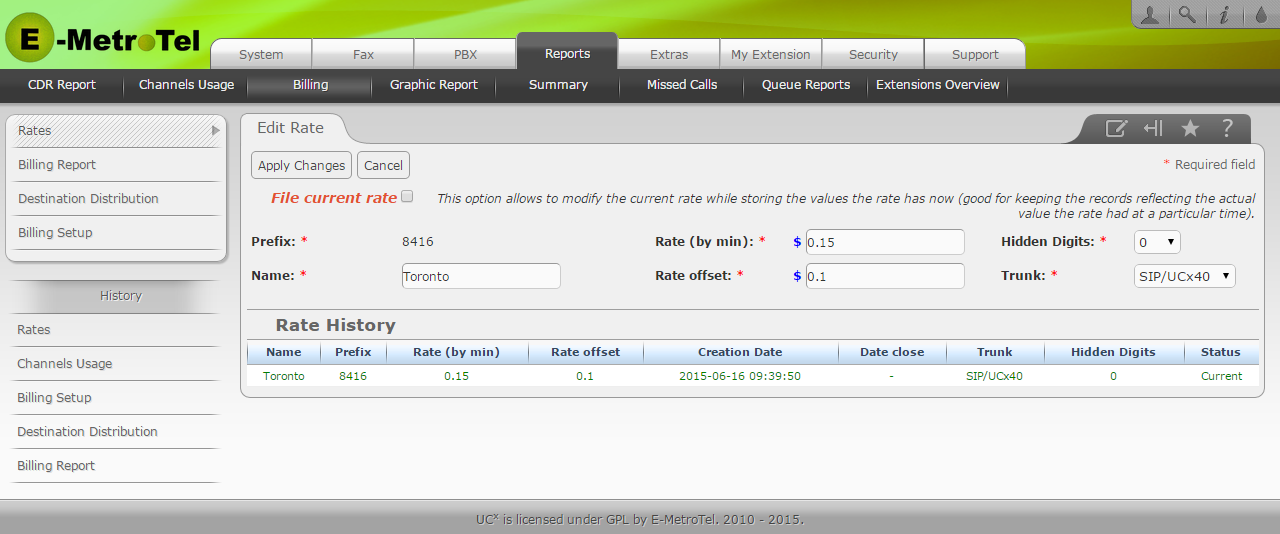
On the Edit Rate page, you can modify the Rate, Rate offset, and Hidden Digits
Select the File current rate checkbox to retain the old rate values into the history of this rate (the history for this rate is displayed at the bottom of the page)
Select the Apply Changes button to save your changes, or select Cancel button to retain old rate values
To import rates from a text file, you first create the text file in the following format (header row is required):
"Prefix","Name","Rate","RateOffset","HiddenDigits","Trunk"
For example:
"Prefix","Name","Rate","RateOffset","HiddenDigits","Trunk"
"8416","Toronto","0.15","0.10","4","SIP/UCx40"
"8905","Brampton","0.25","0.10","4","SIP/UCx40"
Select the Import File button to import a rate from a csv file
Select the Choose File button on the Import File page, to launch the windows file browser

Select the Save button to import the selected file, or Cancel button to not import a rate
The Billing Report page allows you to view/export the billing report.
From the Reports -> Billing tab, select Billing Report from the left-side column.
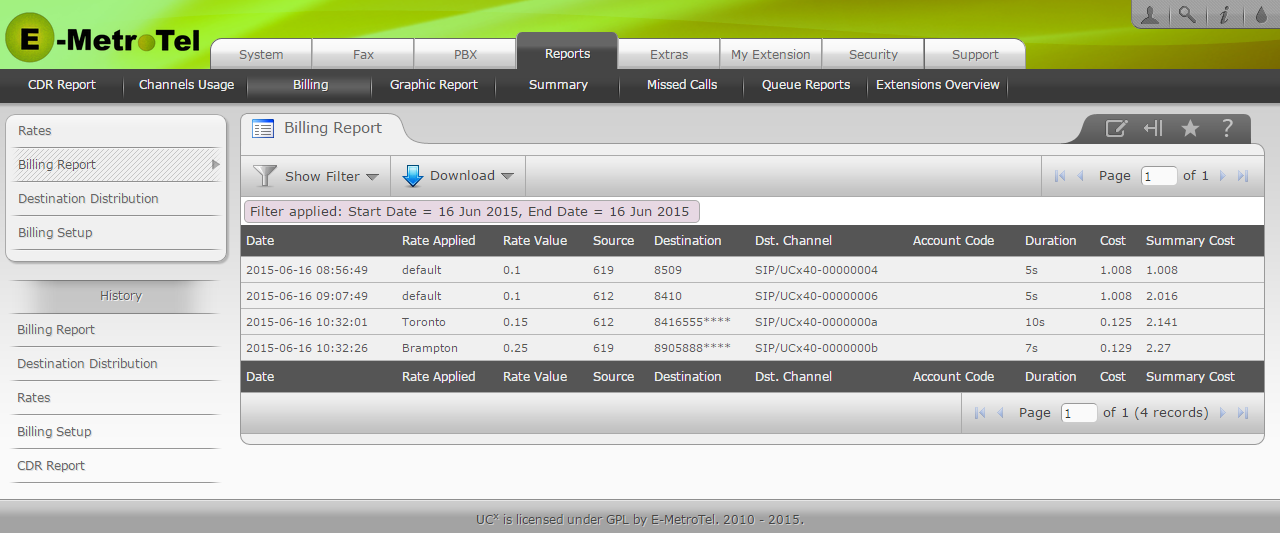
To filter the report, perform the following steps:
The report can be exported by clcking the Download button. The following three export formats are supported: CSV, Spreadsheet, PDF.
The Destination Distribution report provides a pie chart view of call distribution.
From the Reports -> Billing tab, select Destination Distribution from the left-side column.
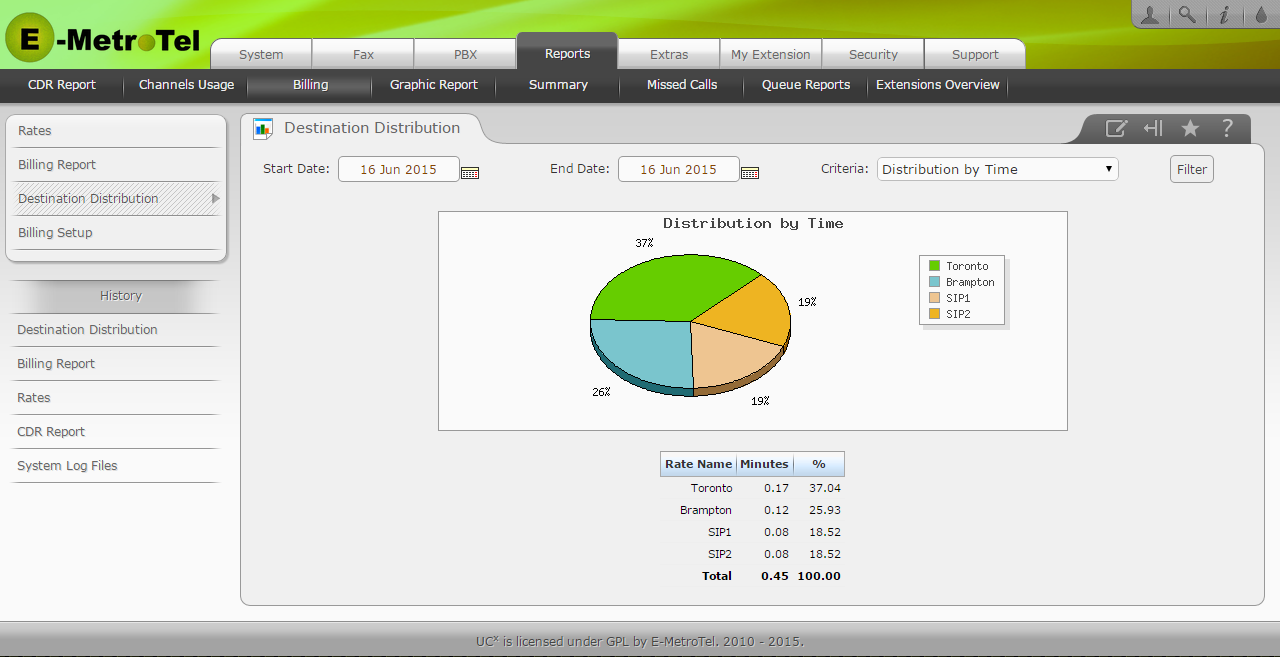
You can set filters for the report as follows:
After setting the filter, select the Filter button to display the chart.